Steph and our nephews/grandsons are big Star Wars fans! The idea for this project came to Steph one day while we were driving in the car. She saw a pile of newspaper end rolls and tried to think of DIY projects they could be used in. She came up with a lightsaber headboard of course! Making this special, unique gift for our nephews/grandsons motivated us to move forward! We started figuring out the plans together (and ultimately didn't use the end rolls, as PVC worked better). Watch the video!
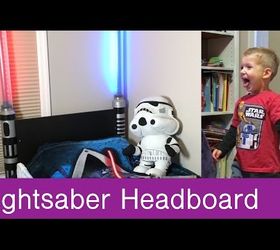
 Check out our website for a full list of materials and tools used.
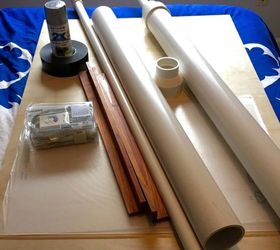 After we gathered our materials, we spray painted the two large PVC pipes silver and the two smaller PVC pipes red/blue. Then we used electrical and duct tape to make the lightsaber handles.
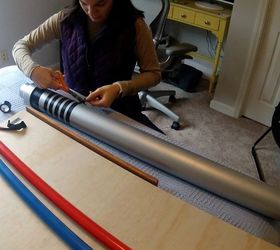 We laid out the wood connecting board and wood side pieces. We marked our measurements.
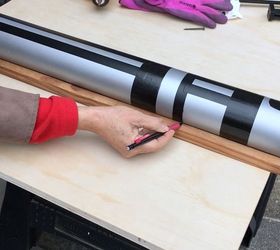 We clamped the lightsaber and side pieces to a board and used the PVC drill bit to make pilot holes. Then we used wood screws for a nice strong hold.
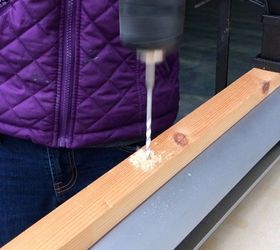 We cut our connecting board to size with a circular saw, but we could have gotten this done at Home Depot when we bought the wood.
 We used the PVC safe drill bit again to make a hole, half way down the back of the lightsaber. This is for the LED light power cable. We needed the hole a little bigger so we followed that with a typical 1/2" drill bit.
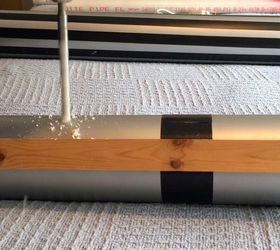 We set the middle PVC pipe in place and attached the lights. We bought adhesive color changing ribbon lights from Ikea. They are probably over kill for this project but we have used them in many projects and have never had an issue.
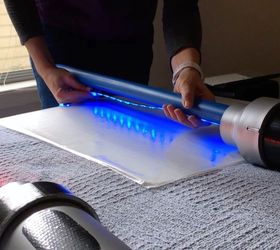 We realized a cut pool noodle was a great way to keep the middle PVC pipe centered. If we did this again, we would also add one to the top end (we only had a flower shaped pool noodle which we trimmed, but a regular, round noodle would probably work better.)
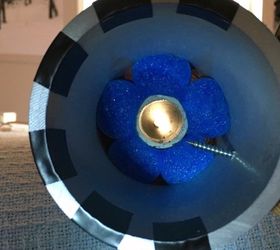 Next we took the lightsabers outside to spray Great Stuff foam in the bottom and top to keep the middle PVC pipe in place. Note: you might not need to do this if the pool noodle at the top and bottom make the lightsaber secure enough.
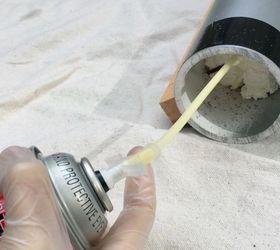 After the Great Stuff dried, we moved on to making the top of the lightsaber. We used a piece of paper to make a template to determine how much overlap we needed for the cover. Then we marked our cover, which is a desk mat from ikea, and made our cuts.
 We marked where the bolts would go and used a hole punch to start the holes. We rolled the plastic and used bolts to keep them together. We used a flat metal bar to make the plastic secure.
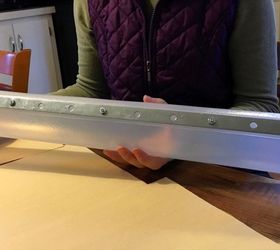 Andrew loved his Star Wars Lightsaber headboard so we consider this a success!
For the rest of the steps and a how-to video please check out our website.
Original article and pictures take http://www.hometalk.com/13556054/lightsaber-headboard site
Комментариев нет:
Отправить комментарий