Super easy idea to turn a simple cardboard box into a beautiful wooden box!Materials: Cardboard Box - Cedar Shims - Scissors - Pencil - Glue Gun - Clear Tape (not pictured) - Paint and foam paintbrush ( not pictured)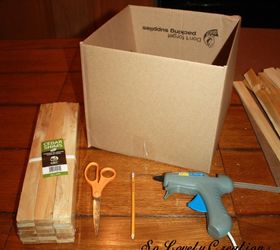 Cedar Shims can be purchased at Home Depot
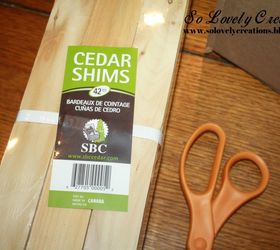
 1. Assemble box. Tape the bottom. Hot glue inside flaps down.
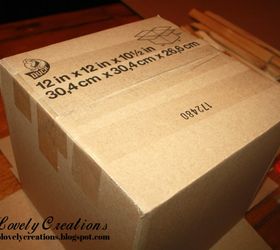 2. Place cedar shim on top of box.
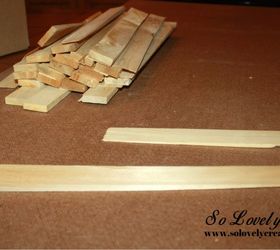
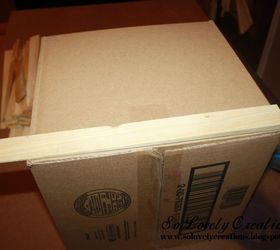 3. Place a pencil mark where wood will be cut.
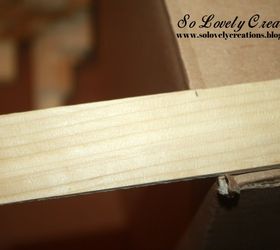 4. Using an old pair of scissors, cut straight down the mark of wood.
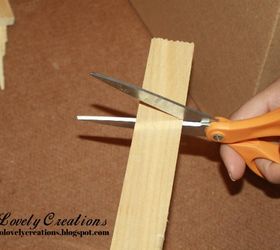 5. Add a generous amount of glue on cedar shim. Glue down. Make sure to hold wood for a few seconds until glue dries.
 6. After gluing one side, you can continue gluing on all sides. I only added wood to front and back. Sides wont be seen in my shelves.
 7. After its all complete, using a foam brush paint cedar shims. I used a white wash, then a dry brush technique to distress them a little.
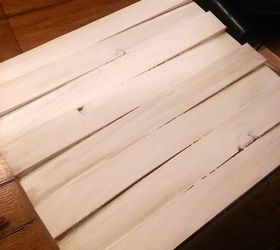 8. Here is the final result. You can paint them any colors!
 9.Optional: Use wooden pictures frames to create labels.
Original article and pictures take http://www.hometalk.com/13465655/easy-diy-boxes site
Комментариев нет:
Отправить комментарий