This is the 2nd post for making the Tin man & I didn't get to put any descriptions on the first post, so I hope you can figure out the instructions. Have fun & enjoy. Kay HaynesMake sure the "arms" are in the right place Attatch the "foot" to the LOWER "leg"
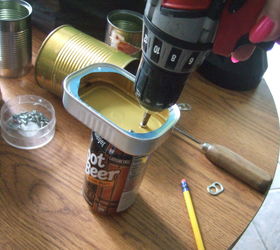 Connect the upper "leg" to the lower "leg & bend the wire to hold it together.
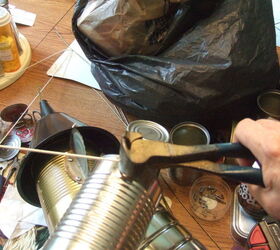
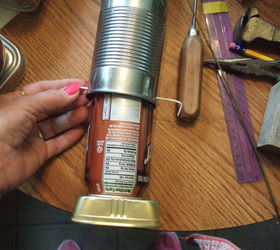
 Make sure the holes for the wire are at the same level
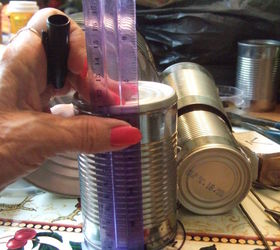 Remove inner lining of bottle cap, if any
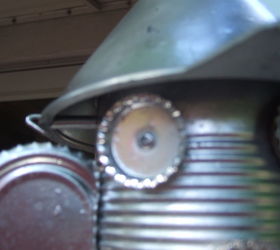
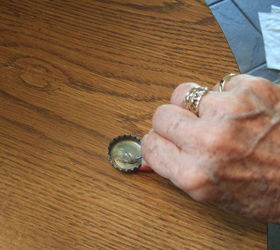 Putting the screw through the "eye" bottle cap.
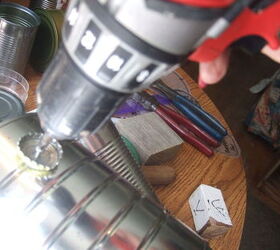
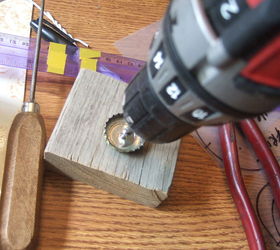
 Connect the TUNA can to the coffee can (body)
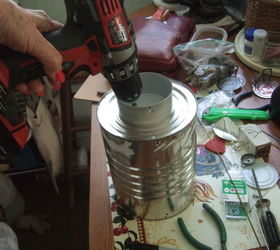 Connect the "head"
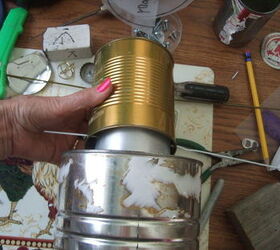 Looking up into the "body" of connections
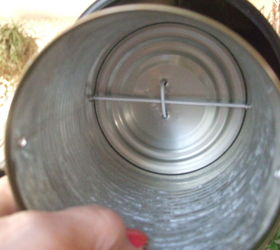 Ready for the "ears"
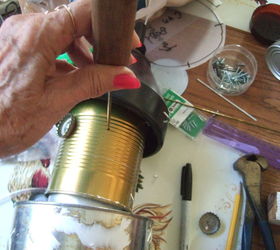
 Give every thing a good spray with CHROME Metallic finish
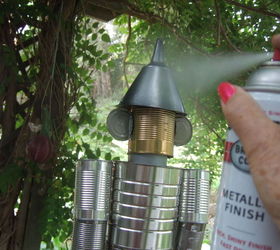 Attach Heart and Mr. Tin man is ready for display
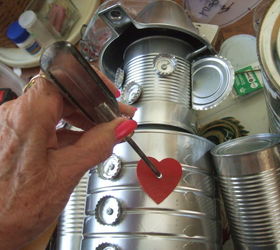
Original article and pictures take http://www.hometalk.com/13306915/instructions-for-making-the-tin-man-part-2 site
Комментариев нет:
Отправить комментарий