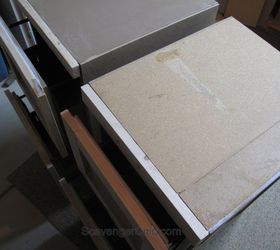
I was on the hunt. After my first thrift store, I came up with the file cabinet on the left for $15. This wasn't going to be as hard as I expected. Four more thrift stores later, I finally stumbled across the one on the right. Using my crude measuring stick, the length of my arm, I figured out that they were pretty darn close to the same size. Unfortunately, the second one was $10 more,$25...SOLD. I was not in the mood to go to 5 more thrift stores.
It was only after I got them home and set them side by side that their differences really became apparent. Obviously, the one on the right is a bit taller and the handles are not quite the same and the one on the right has a bar between the drawers.
I was not deterred.

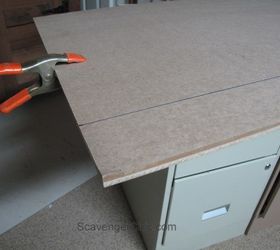
After a quick trip to Home Depot I found 2x4 sheets of 1/4" mdf. I bought 2....I would cut my own trim.
Clamped the two sheets together to get the cutting done in half the time.
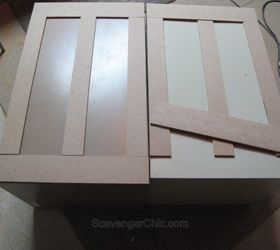
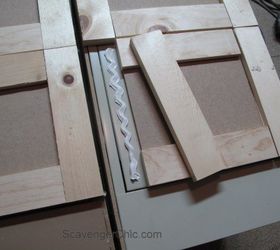
Two and a half inch and three and a half inch strips were cut from the mdf. I have found that even though mdf cuts very nicely with no splintering, it leaves a fine coat of sawdust on everything! I'm just warning you, if you can cut your wood outside, it might not be such a bad idea.
Note: Even though the file cabinets were 2 different heights, the side molding was cut as if they were exactly the same. The lighter file cabinet on the right will have molding that extends past the top of the cabinet.
Cut, sand, glue, cut, sand, glue...
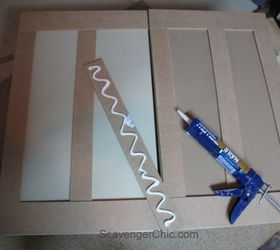
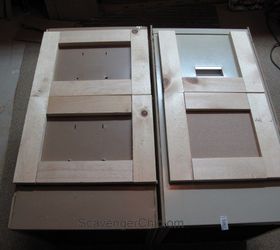
The trim for the drawers was cut from about 16 feet of 1x3 lumber. I originally cut the trim to cover only the drawers (like the right cabinet) but I liked it better going all the way to the side edges (cabinet on the left) so that the trim covered the rough edges of the side pieces.
More sanding and more gluing. When using the builders adhesive for the drawers, put the glue on just the drawer or you'll end up gluing your drawer shut.
Use a paintable caulk to fill in any cracks and crevices.
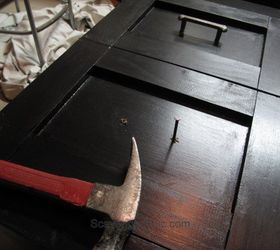
For the handles, drilled the wood with a regular drill bit then finished off the hole with a nail hammered through the metal
You can find the tutorial for the top of the desk and see the finished project here.
http://scavengerchic.com/2016/01/21/desk-made-from-old-metal-file-cabinets/
And for more pictures and the complete tutorial for the file cabinets make sure you click on the link below.

Original article and pictures take http://www.hometalk.com/13220862/mismatched-metal-file-cabinets-get-a-makeover site
Комментариев нет:
Отправить комментарий